When you need to convert files into another file type you very often end up with “free”, “advertised” and potentially not secure Web Sites or tools to install locally. Today I will introduce you a solution that is under your control and secure. We will deploy HRConvert2 by zelon88 in Azure and look into options to create an SSL Certificate and secure an Azure hosted Public IP.
Table of Contents
Installation Options
You can use this installation guide for an Azure VM based solution, but also feel free to look into installing it locally on Linux or in a Docker container.
Azure Preperation – Network and Security
To be able to share the solution to others we want to seperate the solution, so I will create a seperate Azure Resource Group and Azure vNet with an Azure Firewall in place. The plan is to also utilize Letsencrypt for a HTTPS connection and look into options to even further improve security by using Azure services for internet facing solutions.
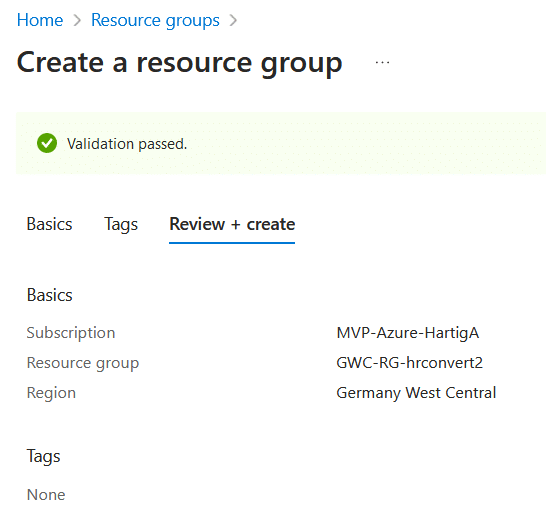
Azure Resource Group
Create the Azure Resource Group to use and follow your Azure Naming Convention.

Azure Virtual Network – Bastion – Firewall – Azure DDoS Protection
We will create a Virtual Network with a Subnet 10.1.1.0/24 for this service including Azure Bastion Services, so we can restrict the Access to the Network and try to keep things following fundamentals of a Zero Trust Approach for this web service.
For a full guide on creating Virtual Networks I do recommend the guide provided by Microsoft and make sure you complete the Azure Virtual Network Training Modules.
Since I have Azure credits to spent we will enable full functionality in this environment to be able to demo Azure Bastion, Azure Firewall and Azure DDoS Network Protection services. All of these come with a price and you should check the Azure Calculator for the costs, before deploying these.

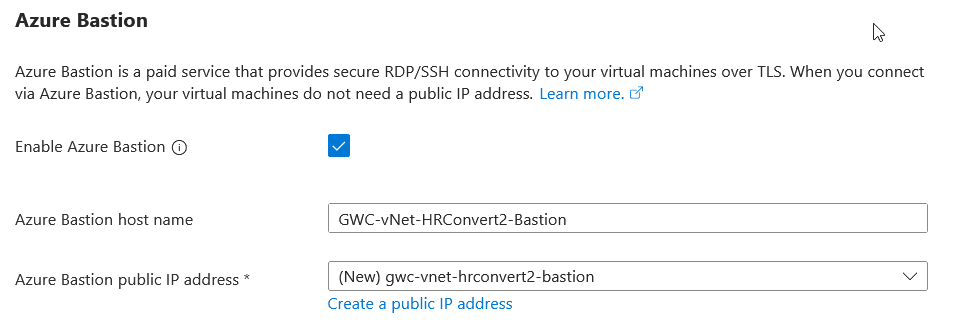

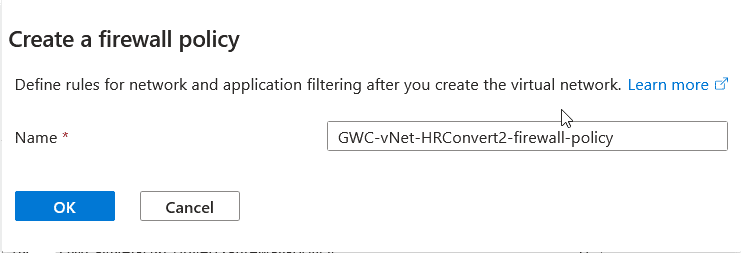

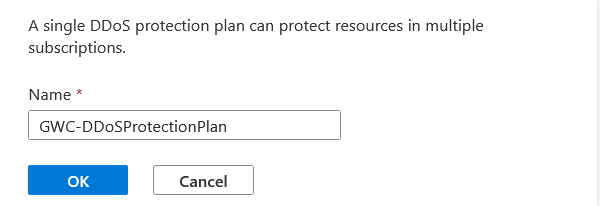
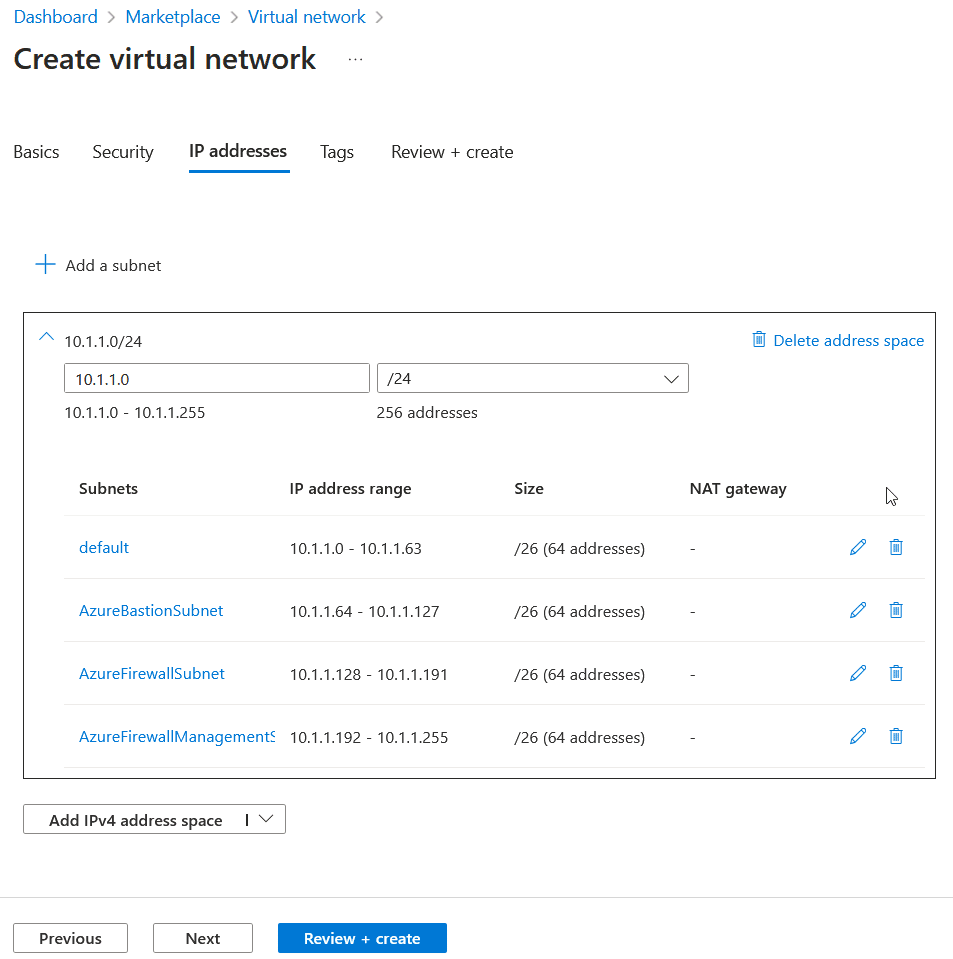
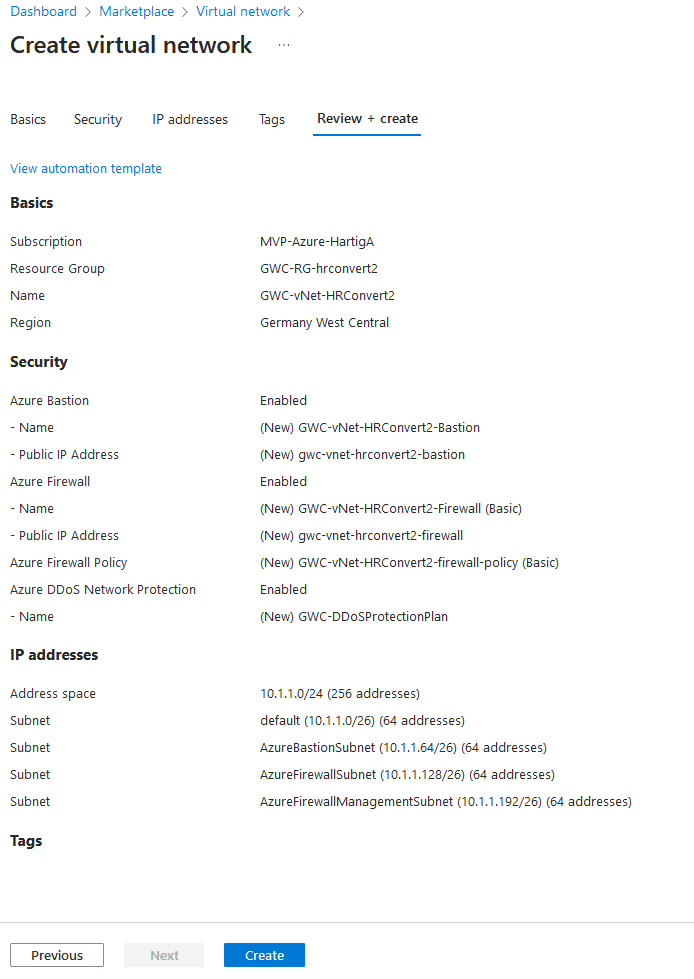
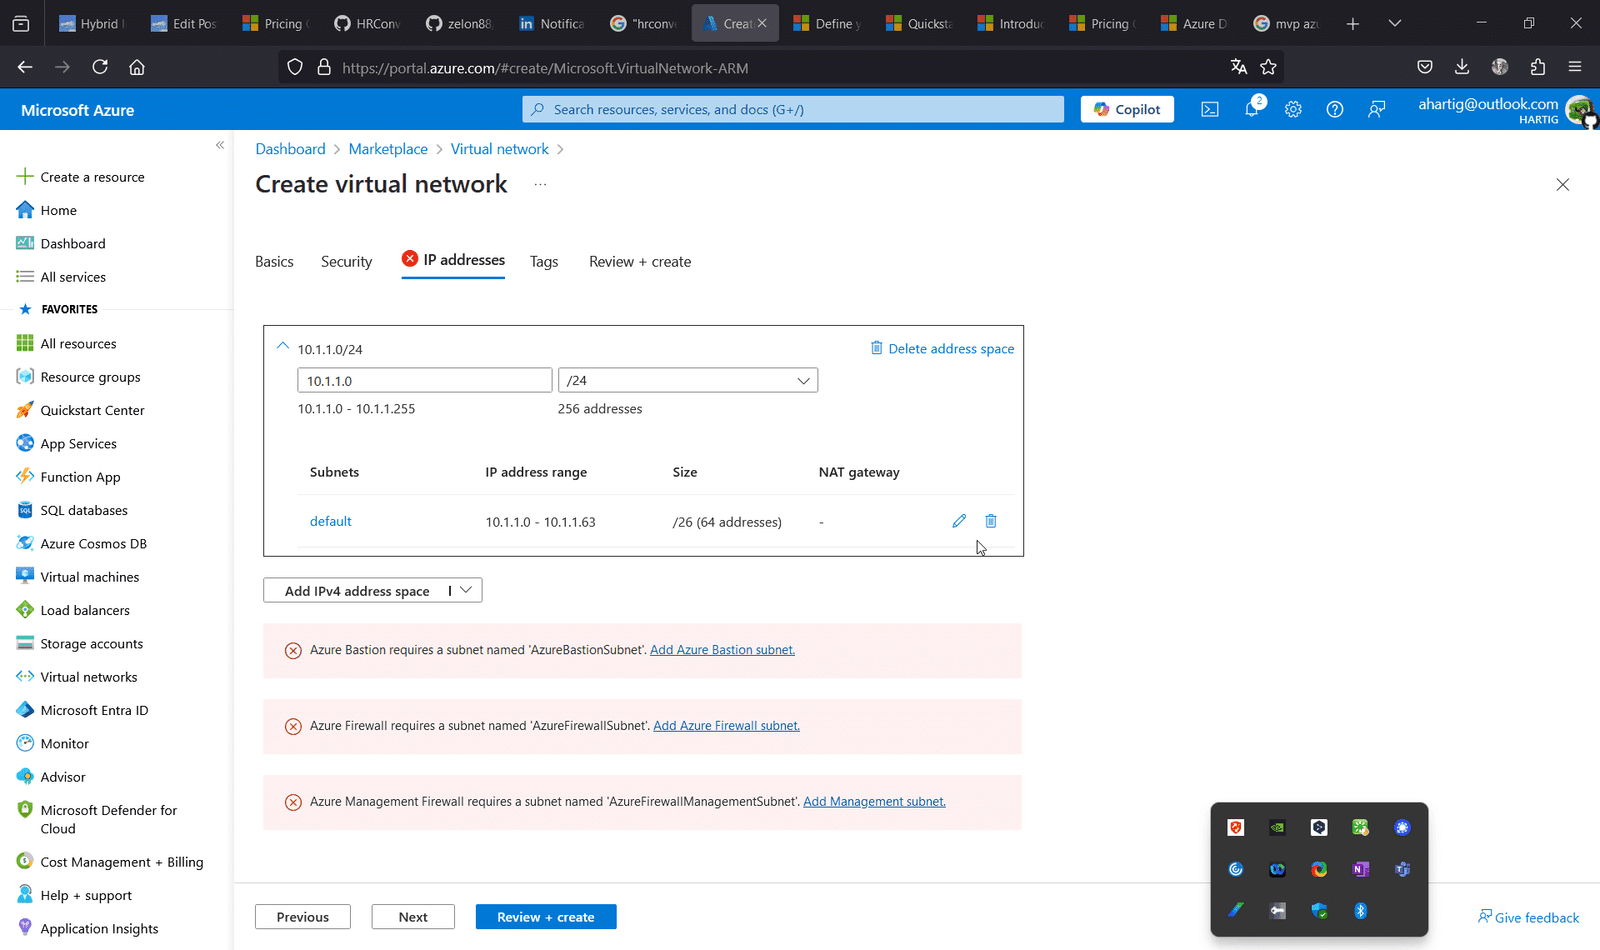
If you are encountering issues with overlapping IP Subnets for the Azure Bastion and Azure Firewall the easiest way is to delete all subnets but the default one. Change the Subnet mask to /26 and than add back the other subnets by clicking on the “red highlighted messages” – see screenshot below.
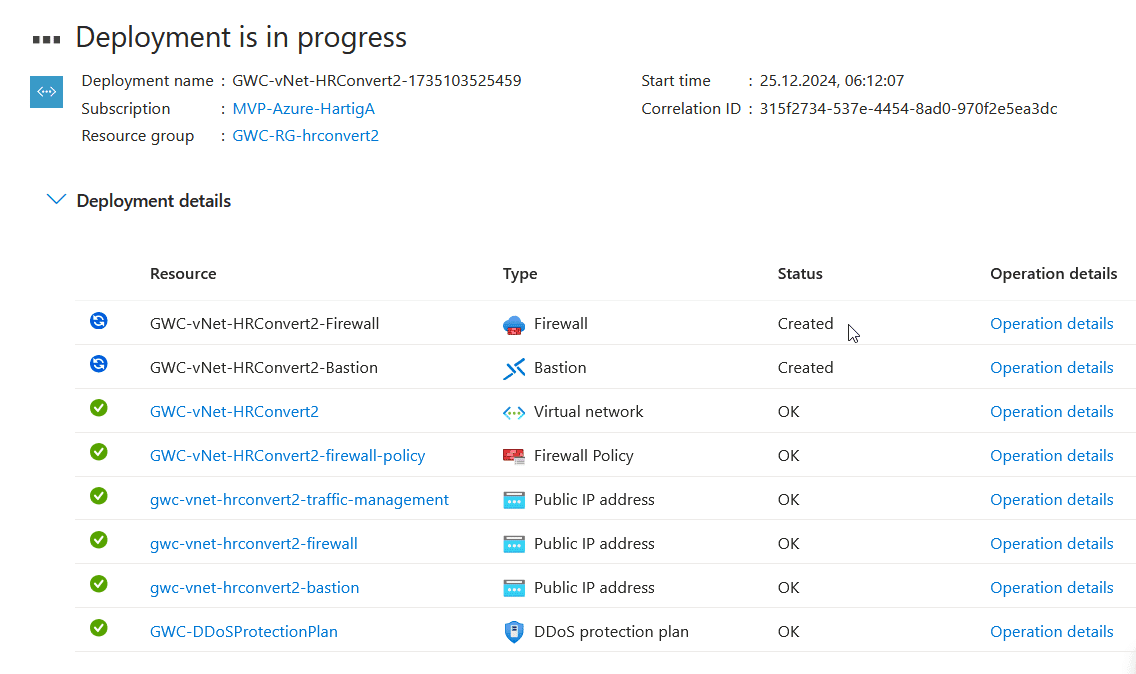
This deployment does require the deployment of several services. Be patient and grab a coffee to let the steps complete, before moving forward. If you like this guide, please follow me on LinkedIn or Bluesky.
To configure the advanced network services please check the individual guides below.
- Configure Azure Bastion
- Configure Azure Firewall Basic Protection
- Configure Azure DDoS Network Protection
Azure Preperation – Azure VM
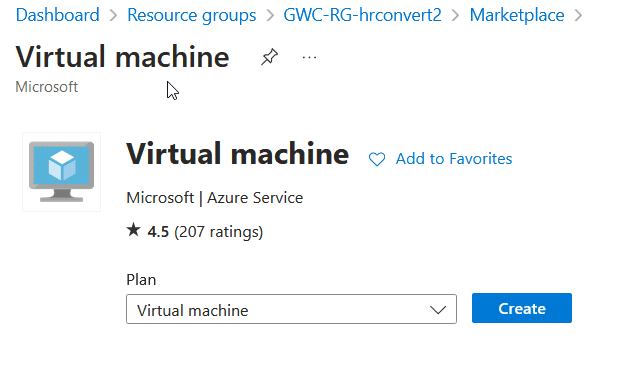
Deploying Azure services through the Azure Marketplace is the most basic approach to install an Azure Service. In this guide we will use this approach to highlight an important settings to minimize costs and simplify the complexity by reducing the available services.
Important: Always hightlight “Azure Services only” to use the Microsoft services and not a 3rd party option, that could cause higher costs or have different support options and SLAs.

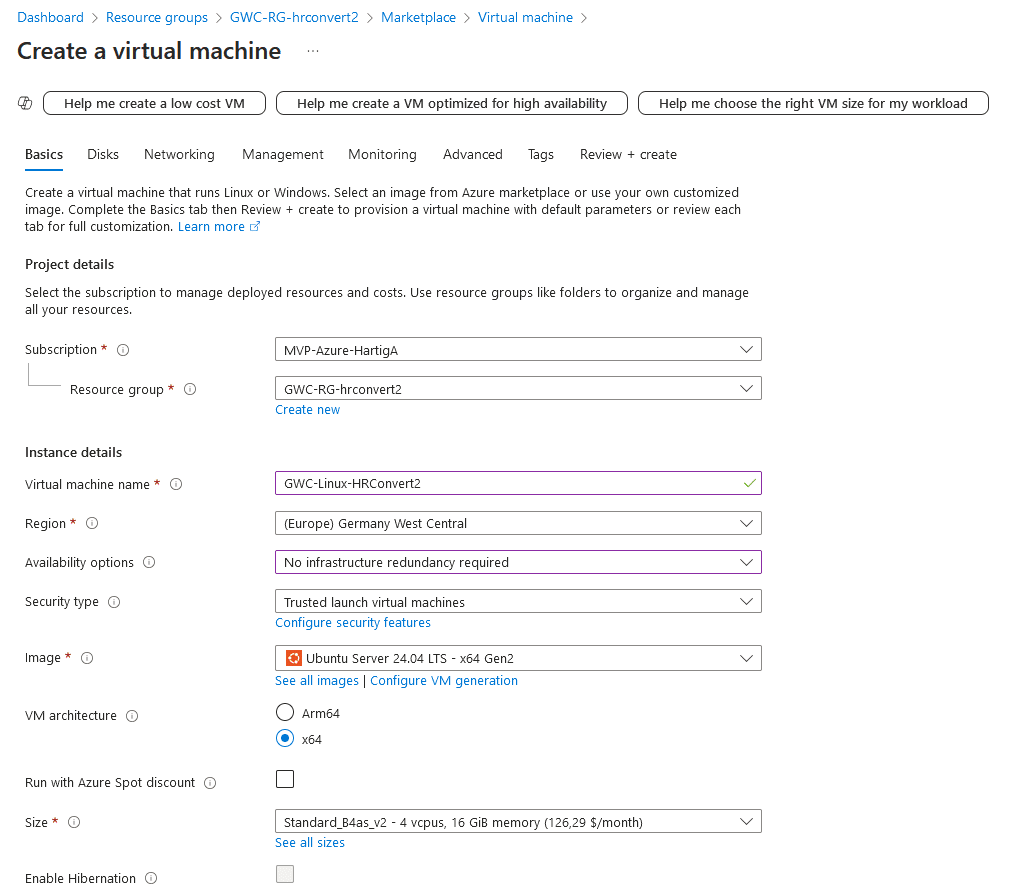
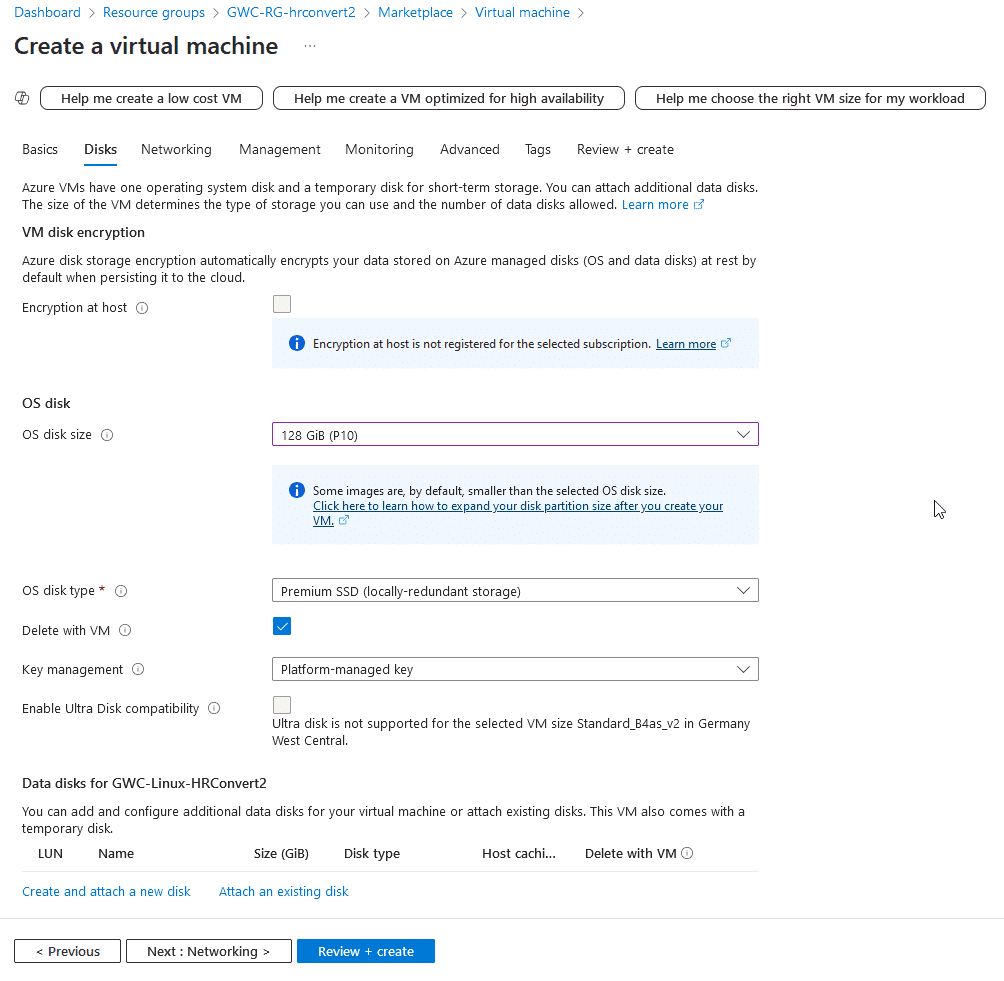
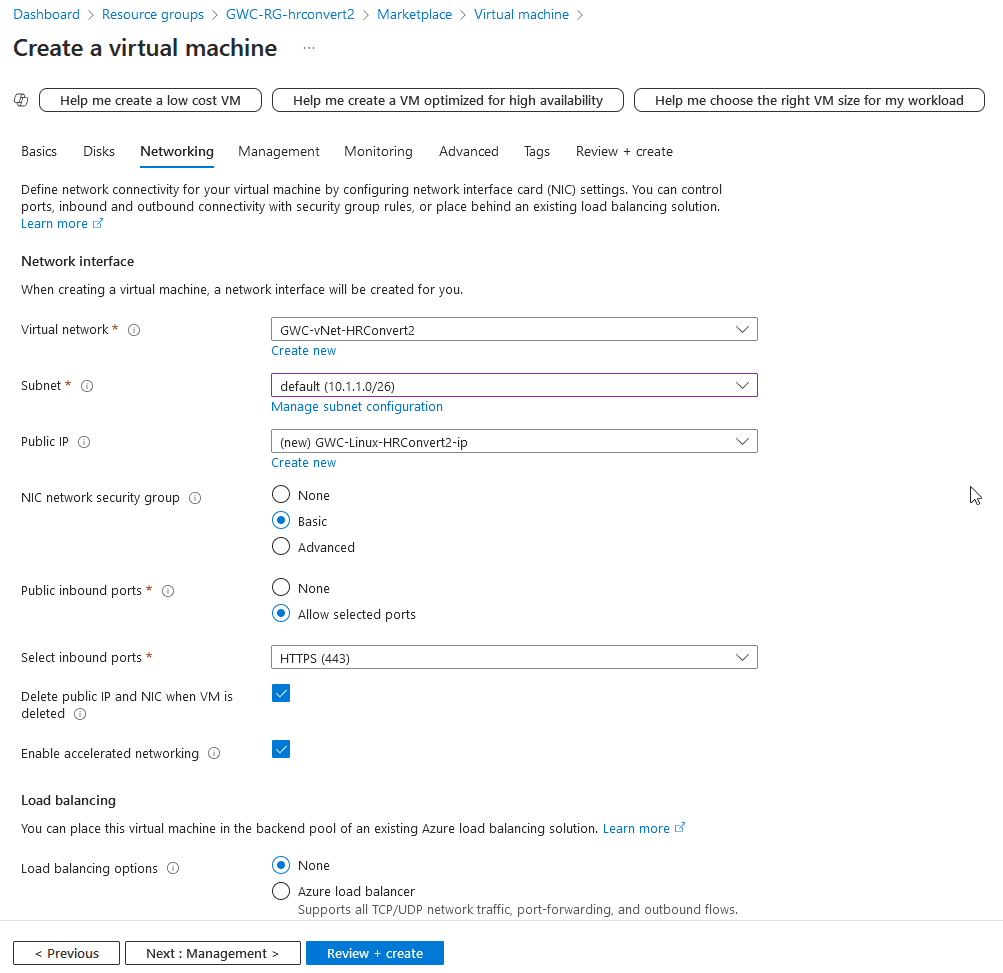
For the Azure Virtual Machine Creation we will use the following settings:
- Resource Group: GWC-RG-hrconvert2
- Virtual Machine Name: GWC-Linux-HRConvert2
- Image: Ubuntu Server 24.04 LTS x64 Gen2
- VM Architecture: x64
- Select inbound ports: 443
- OS disk size: P10 (128 GB) – we want to convert files, so additional disk space is required
Utilize more details with the excercise from the Microsoft training module “Introduction to Azure virtual machines“.



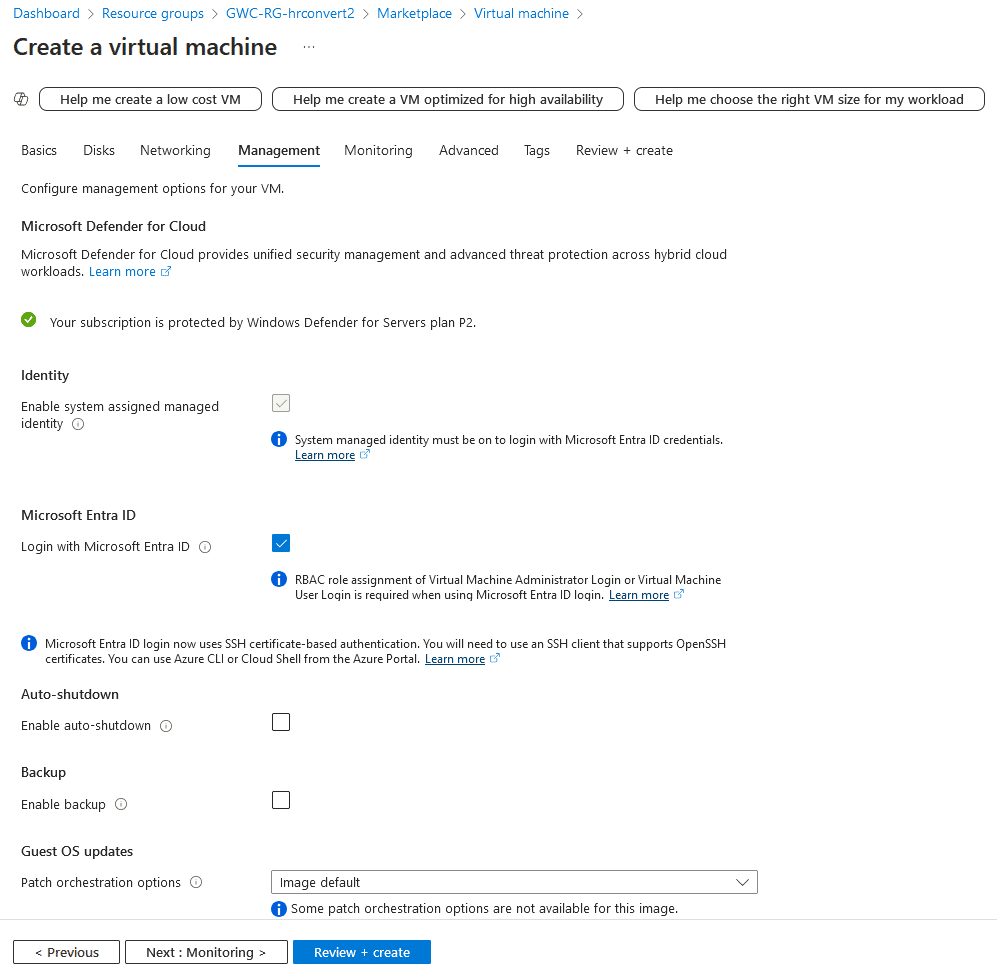
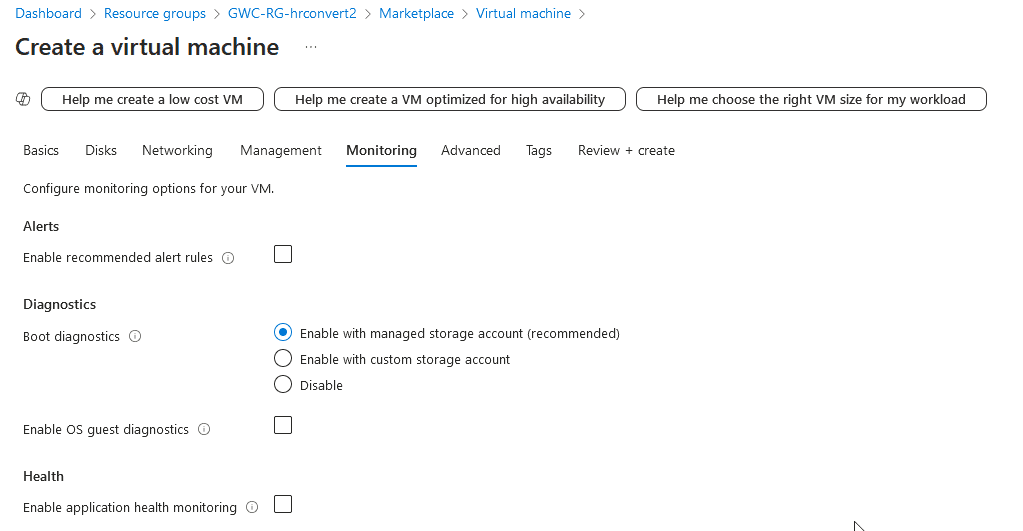
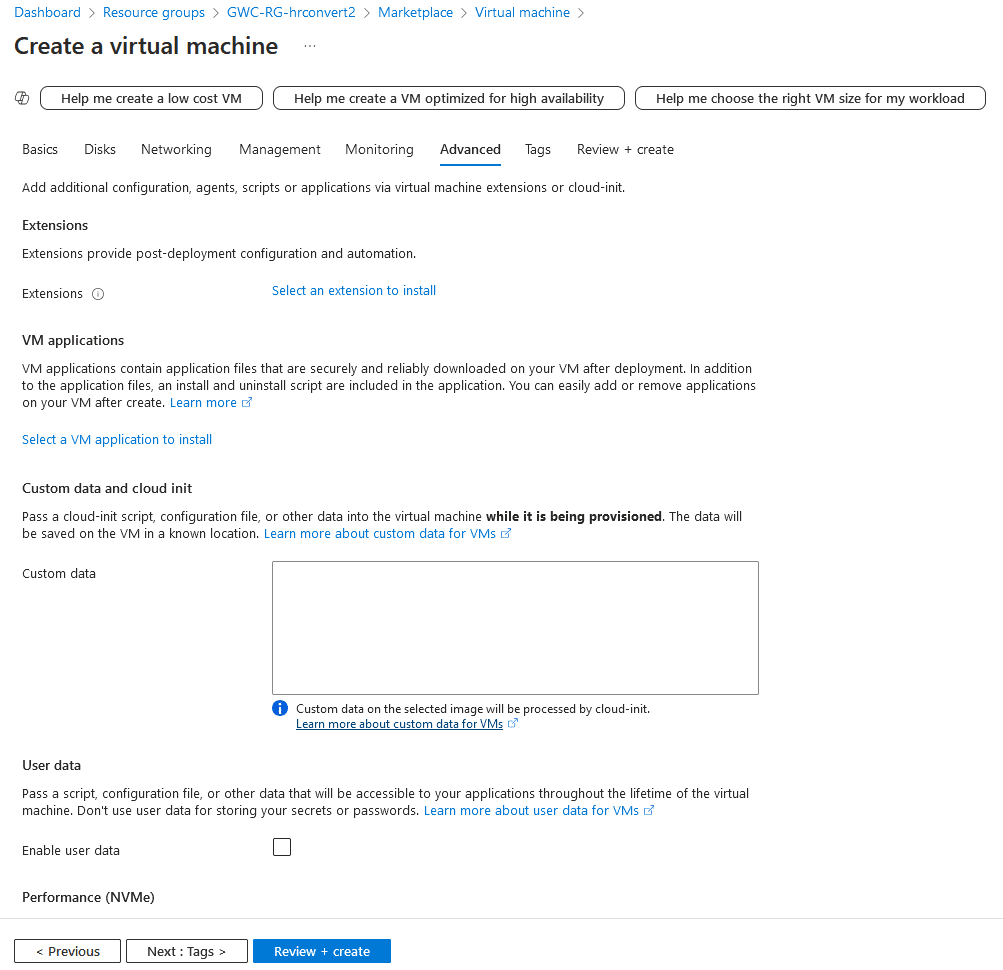
This will deploy your Azure VM that we will configure in the next steps of this guide. Please make sure you save the credentials and password files used for the deployment.
If you encounter issues with the connectivity to your Azure VM, please check the Azure Firewall and use these tools from my Blog “Windows Server 2025 – Monitoring TCP/IP” to check connections to HTTPS Port 443 and most importantly SSH Port 22.


