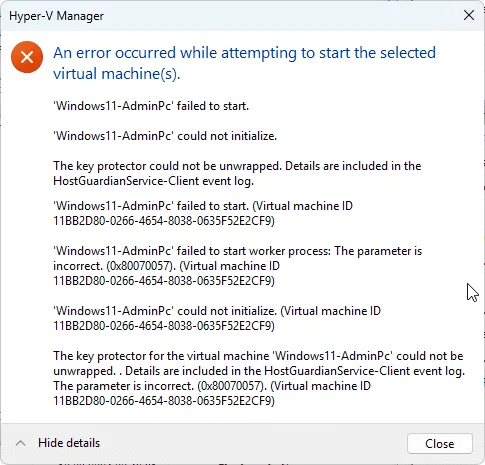
When exporting a Windows 10 / 11 VM from a Hyper-V Host and importing it, you can end up with error 0x80070057 “The key protector for the virtual machine ‘YourMachineName’ could not be unwrapped. Let’s see how we can fix or better said, avoid it.
Table of Contents
My Story – Windows 11 – Homelab – Error 0x80070057
I recently exported my Windows 11 lab and tried to import it to another Hyper-V host. The export from the old host and the import to the new one went well, but after I started the import of the virtual machine, I got an error message saying ‘The key protector could not be unwrapped’.
After importing the Hyper-V host and trying to start the imported Windows 11 virtual machine, I got the following error: ‘The key protector could not be unwrapped’.
Background
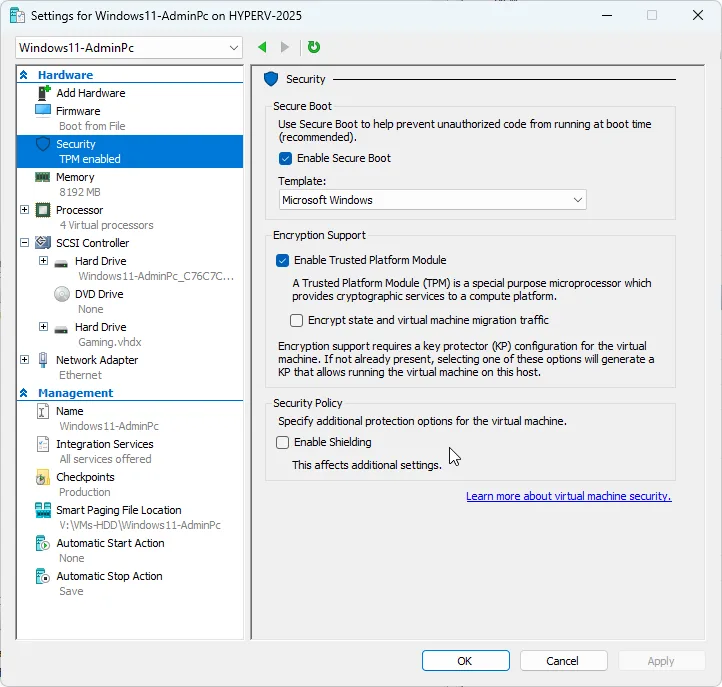
The reason for this is TPM. When installing the Windows 11 virtual machines (VMs) on an old Hyper-V host i had TPM and all security features enabled. By default with Windows Server 2025 you won’t transfer all of the security details and certificates, when exporting a VM.
TPM is a requirement for Windows 11 and later Operating versions and part of the standard security features.
This is a screenshot of my Hyper-V VM setting
When using TPM and these certificates, it is important to understand, that the OS and UEFI are using these and you have to manage them correctly to stay secure everyone. This includes importing and exporting the certificates as part of the migration of a TPM protected (shielded VM).
In this case this requires us to export the relevant certificates and import them to the new host.
Manual Export and Import Procedure
Export on the current Hyper-V Host
Type mmc.exe in the Windows 11 / Windows 11 run or search field on the current Hyper-V Host.
Important: If you are not doing this on the current / old host, you will not be able to export the private key using the mmc snapin.
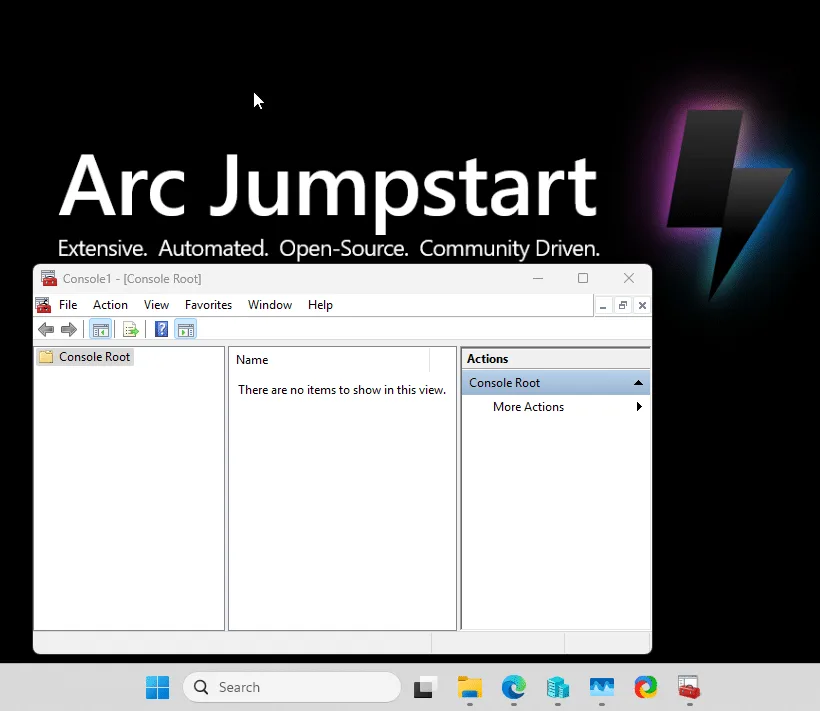
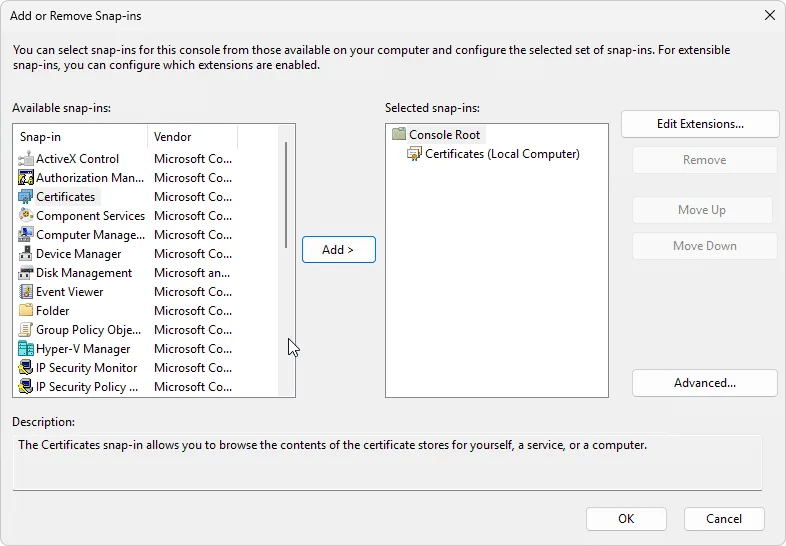
In the MMC click on File -> Add/Remove Snap and add the certificate snapin
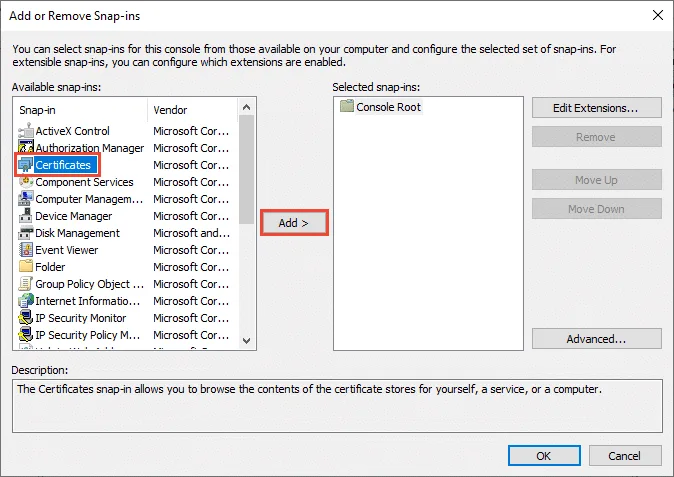
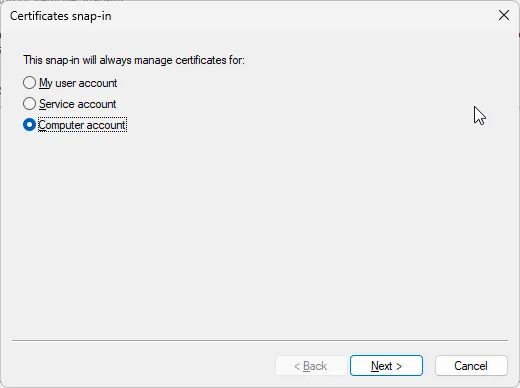
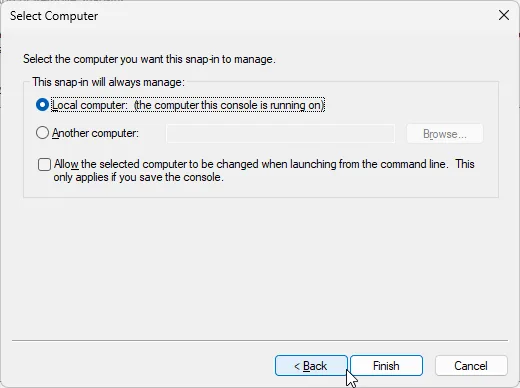
The next steps include to select the Computer Account – click next – choose Local computer – click finish and click OK to complete the configuration of the MMC snapin.
Check the animated gif to learn how to export the two relevant Certificates including the private key and setting the password.

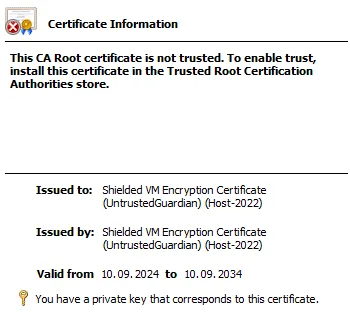
As you can see you now have 4 certificates available. 2 of those are for newly created VMs on the new host and the other 2 certificates will support those VMs created on the old host and migrated.
Each generated certificate has an expiration date 10 years from the time it was created.
You can see the details easily by double clicking on the certificates.
Import on the new Hyper-V Host
Now switch to the new Hyper-V host. The one where you are getting the “The key protector could not be unwrapped” / 0x80070057 error,. We will import the certificates from the old Hyper-V host. Personally I use the Remote Desktop Connection Manager v2.93 to quickly switch between RDP Sessions.
In case the Shielded VM Local Certificates Store is missing, just create an empty VM on your new host and make sure you enable TPM as seen here on the second screenhot in this blog post.
Check the animated gif to learn how to import the two relevant Certificates including the private key and setting the password.

Powershell Export and Import Procedure
You can use two powershell commands for the import and export procedure. The export command is Export-PfxCertificate and the import command Import-PfxCertificate will be.
Export the certificate:
$CertificatePassword = ConvertTo-SecureString -String "Hartiga.d€" -Force -AsPlainText
Get-Item "Cert:\LocalMachine\Shielded VM Local Certificates\*" | ForEach-Object {
Export-PfxCertificate -Cert $_ -FilePath ".\$($_.Issuer)-$($_.Thumbprint).pfx" -Password $CertificatePassword -CryptoAlgorithmOption AES256_SHA256}
Import the certificate
$ShieldedCertsPath = 'Cert:\LocalMachine\Shielded VM Local Certificates'
if (-NOT (Test-Path $ShieldedCertsPath)) { New-Item -Path $ShieldedCertsPath -Force }
$CertificatePassword = 'Hartiga.d€' | ConvertTo-SecureString -AsPlainText -Force
Get-Item "C:\Users\$($env:USERNAME)\OneDrive\Desktop\Hyper-V Guardian certificates\*.pfx" | Import-PfxCertificate -CertStoreLocation $ShieldedCertsPath -Password $CertificatePassword -Exportable
The commands are from HotCakeX / Violet Hansen and I recommend checking here blog for even more great content.
Result and Conclusion
TPM and Client certificates are something you need to understand as a Hyper-V administrator. It can be managed both through a GUI and also using PowerShell. I shared both options, so you can choose your prefered approach.
Personally I prefer using the GUI for the once every xyz years situations and to understand the technology better through visualization. If moving into a project at work, I would definitely use the PowerShell approach for standardization, testing and scalability.
Additional Information
If you want support installing Hyper-V, please check my guide here.