A Linux VM with Proxy, such as tinyproxy, can be used to reduce bandwidth as it caches frequently requested websites. Today we want to configure a Linux VM with a Proxy and deploy it for troubleshooting.
Table of Contents
Why build a Linux VM with Tinyproxy on Hyper-V?
This used to be a valid business scenario when bandwidth was still expensive, even for companies. Today, these costs no longer play a role, especially since a cache in the proxy tends to lead to problems (complexity). In times of encrypted connections via HTTPS for most websites, this is also rather impractical and not very efficient.
I always need a way to identify systems with a specific IP address in log files. This is especially true for mobile devices and managed systems, i.e. Azure Arc managed servers. The easiest way to do this is with an Azure or Hyper-V Linux VM, Tinyproxy and a fixed proxy entry on the end device. If you want to deploy a Proxy in Azure, I made a German guide for this using Squid here.
Step by Step guide
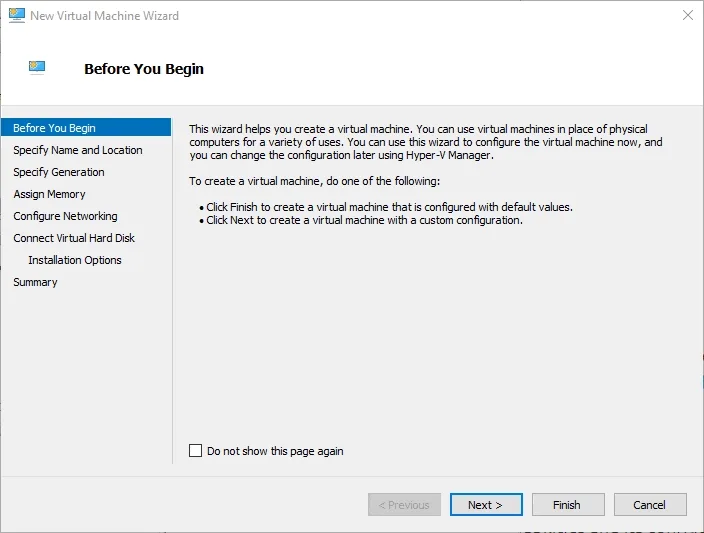
For testing purposes I deployed a Linux VM with Ubuntu Server 24.04, 2 GB of RAM, 2 CPUs on my Hyper-V host deployed earlier. For the Hyper-V Guide check here. If you need support installing Linux I do recommend the official Microsoft guide or use the Ubuntu Server step by step guide.

Configure Secure Boot for the test lab environment to Configure Microsoft UEFI Certificate Authority. Otherwise your installation will fail.

Initial Maintenance
We always start with the command first to bring everything up to date.
sudo apt update && sudo apt dist-upgrade && sudo apt autoremove && sudo apt cleanor you can execute them one by one
sudo apt update
sudo apt upgrade
sudo apt dist-upgrade
sudo apt autoremove
sudo apt clean
Install TinyProxy

The installation and configuration for basic access with no authorization is not too complex, but adjustments to the config file and user authentication can turn into a complex work. Keep things simple unless really required.
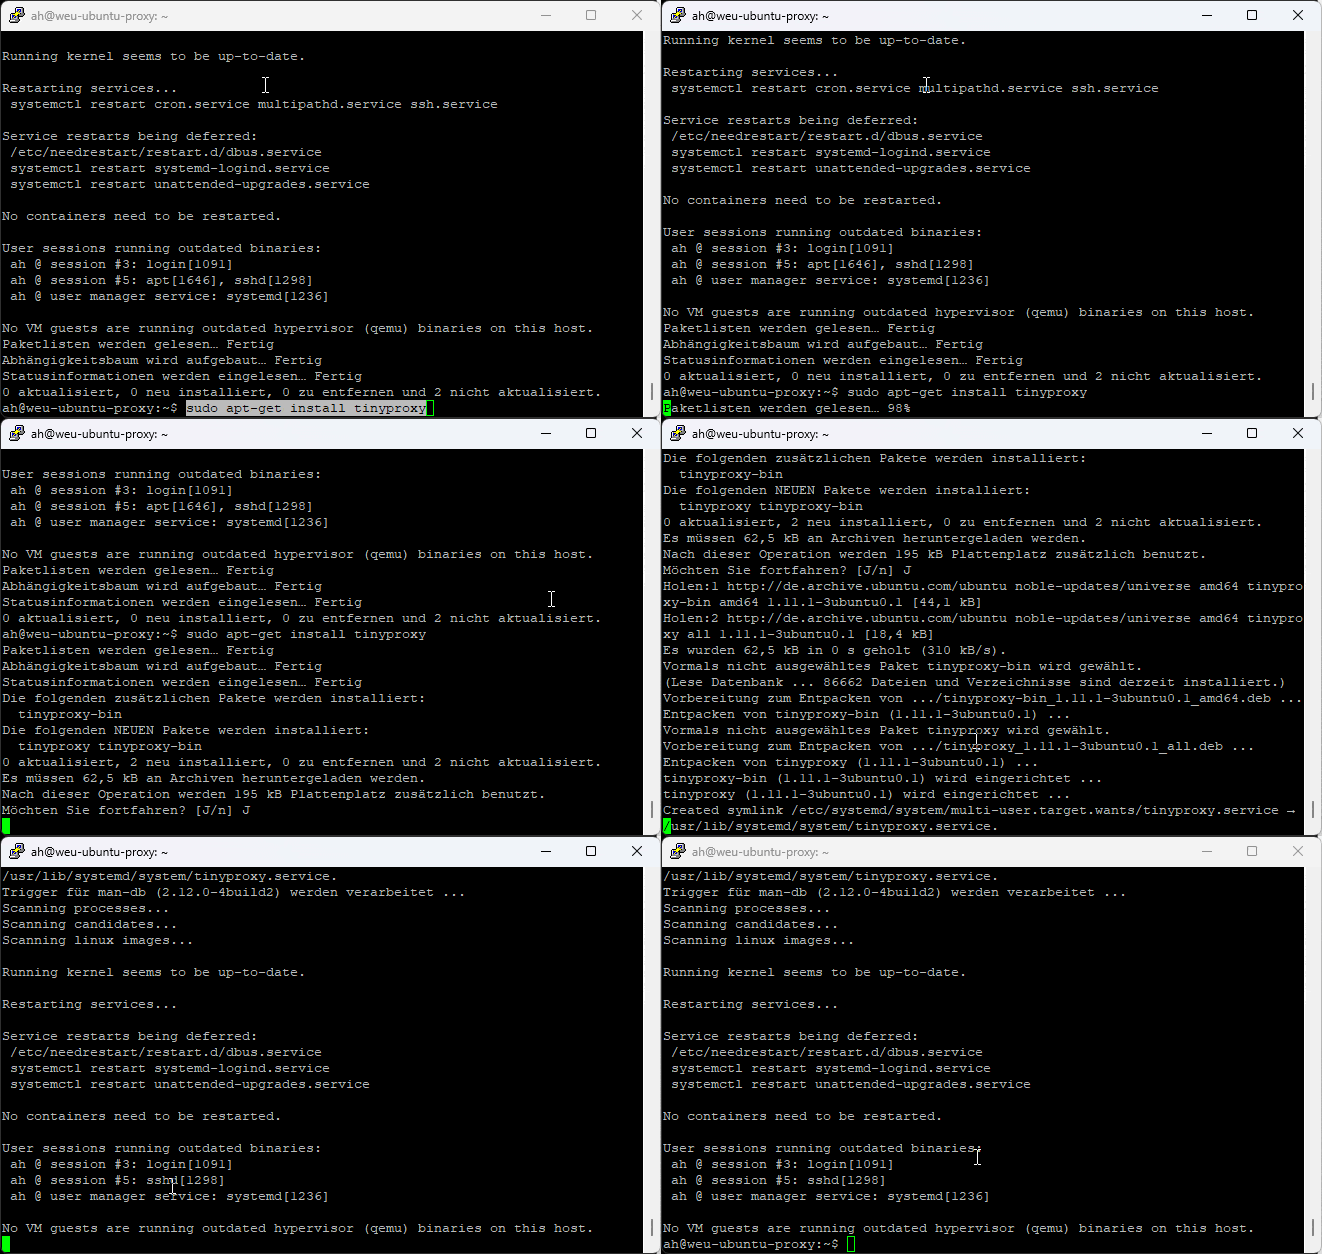
Install the TinyProxy using this command
sudo apt-get install tinyproxyConfigure Tinyproxy
Always make a copy of config files, before making changes. You can run this command to do that
cp /etc/tinyproxy/tinyproxy.conf /etc/tinyproxy/tinyproxy.conf.orgOpen the config file using this command
sudo nano /etc/tinyproxy/tinyproxy.confYou can now modify the long default config file or replace the content with a very simple config file. I prefer to remove the overloaded initial config, but if you want to add complexity or more features later, keep the original one.
This is my default config:
# User/Group to drop root after initializing
User tinyproxy
Group tinyproxy

#Port - with no Bind config, it will bind to all IPs
Port 8080

# Timeout: The maximum number of seconds of inactivity a connection is
# allowed to have before it is closed by tinyproxy.
Timeout 600

#Error File
DefaultErrorFile "/usr/share/tinyproxy/default.html"

#Logs & Stats File Location
StatFile "/usr/share/tinyproxy/stats.html"
LogFile "/var/log/tinyproxy/tinyproxy.log"
LogLevel Info
PidFile "/run/tinyproxy/tinyproxy.pid"

#Performance values for max clients / threads
MaxClients 100

#Allow local IP and all RFC1948 IP Ranges
Allow 127.0.0.1
Allow 192.168.0.0/16
Allow 172.16.0.0/12
Allow 10.0.0.0/8

# ViaProxyName: The "Via" header is required by the HTTP RFC, but using
# the real host name is a security concern.  If the following directive
# is enabled, the string supplied will be used as the host name in the
# Via header; otherwise, the server's host name will be used.
ViaProxyName "tinyproxy"
Now you can restart the service
sudo tinyproxy -d -c /etc/tinyproxy/tinyproxy.confThis is how it looked like for me in the nano editor.

There are many other configurations that make sense. For example, business hours can be specified, certain domains can be prohibited or access to certain subnets can be restricted. We do not need any of this in our case, as we only want to use this system for test purposes.
Next steps on your client / server
The next steps include configuring your favorite brower using the IP of your Virtual Guest and Port 8080
This is my configuraton in Firefox on Windows 11

Use Tail to understand what is happening
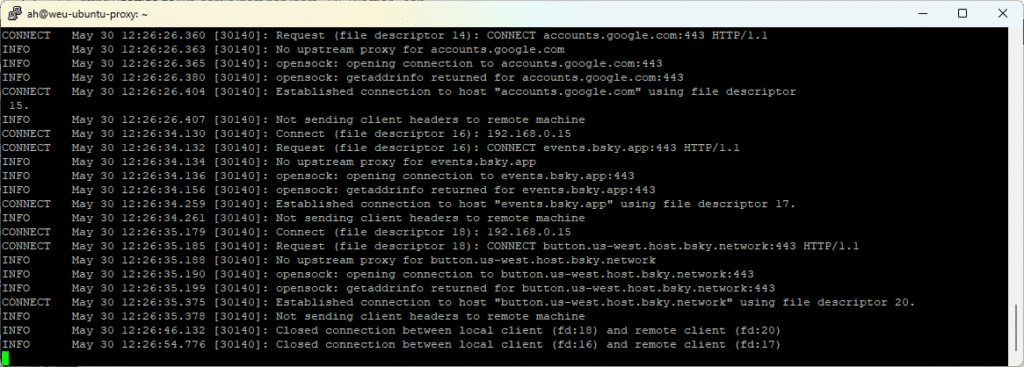
You can now use this command on your Linux Tinyproxy server to check for connection attempts of your systems configured to use the proxy:
sudo tail -f /var/log/tinyproxy/tinyproxy.logYour output with an active Client should look like this

If you are following me on this blog, you can also use your WSL Linux and run this command in your customized terminal. You just have to change the IP 192.168.0.77 and Username ah with the IP and Username of your just installed Linux server running Tinyproxy.
ssh -t ah@192.168.0.77 sudo tail -f /var/log/tinyproxy/tinyproxy.log
Conclusion
As mentioned earlier a proxy is no longer a tool to improve performance or reduce costs, but for us it can be very useful for troubleshooting. Especially when used in combination with your WSL Linux and the Terminal application you can run this on your local client. This is, why I keep running a Tinyproxy on Hyper-V for testing Azure Arc connections through a proxy configuration.
Personally I would not recommend to consider a Tinyproxy part of a security strategy and would recommend to use a Next Gen Firewall, but this very much depends on the available budget, the environment and your requirements.
For me this is a powerful tool to troubleshoot and test Azure Arc & Azure Arc Gateway functionality in combination with an enterprise proxy. This is part of one of my common discussions with customers and other Azure Adaptive Cloud architects and I have summarized these options here.
If you are interested in a proxy with more features, please check the installation guide for a Squid Proxy here.


